
Table of Contents
Romeo and Juliet, eat your hearts out.
From the second we enter the kitchen we should be in chef mode. It doesn’t matter if we are a home cook or a trained professional, we should strive to produce the very best food we can. But good food has many components like fresh ingredients and punchy flavours – one thing that is often overlooked in food preparation is the cutting itself. Getting to the middle of a recipe I often find myself wondering, do I really need to perform that julienne cut?
Doing a rough chop for everything may seem like enough effort to create excellent dishes, but sometimes a recipe will call for something more specialised and if you don’t follow this technique properly, how can you hope to replicate the dish they wanted you to.
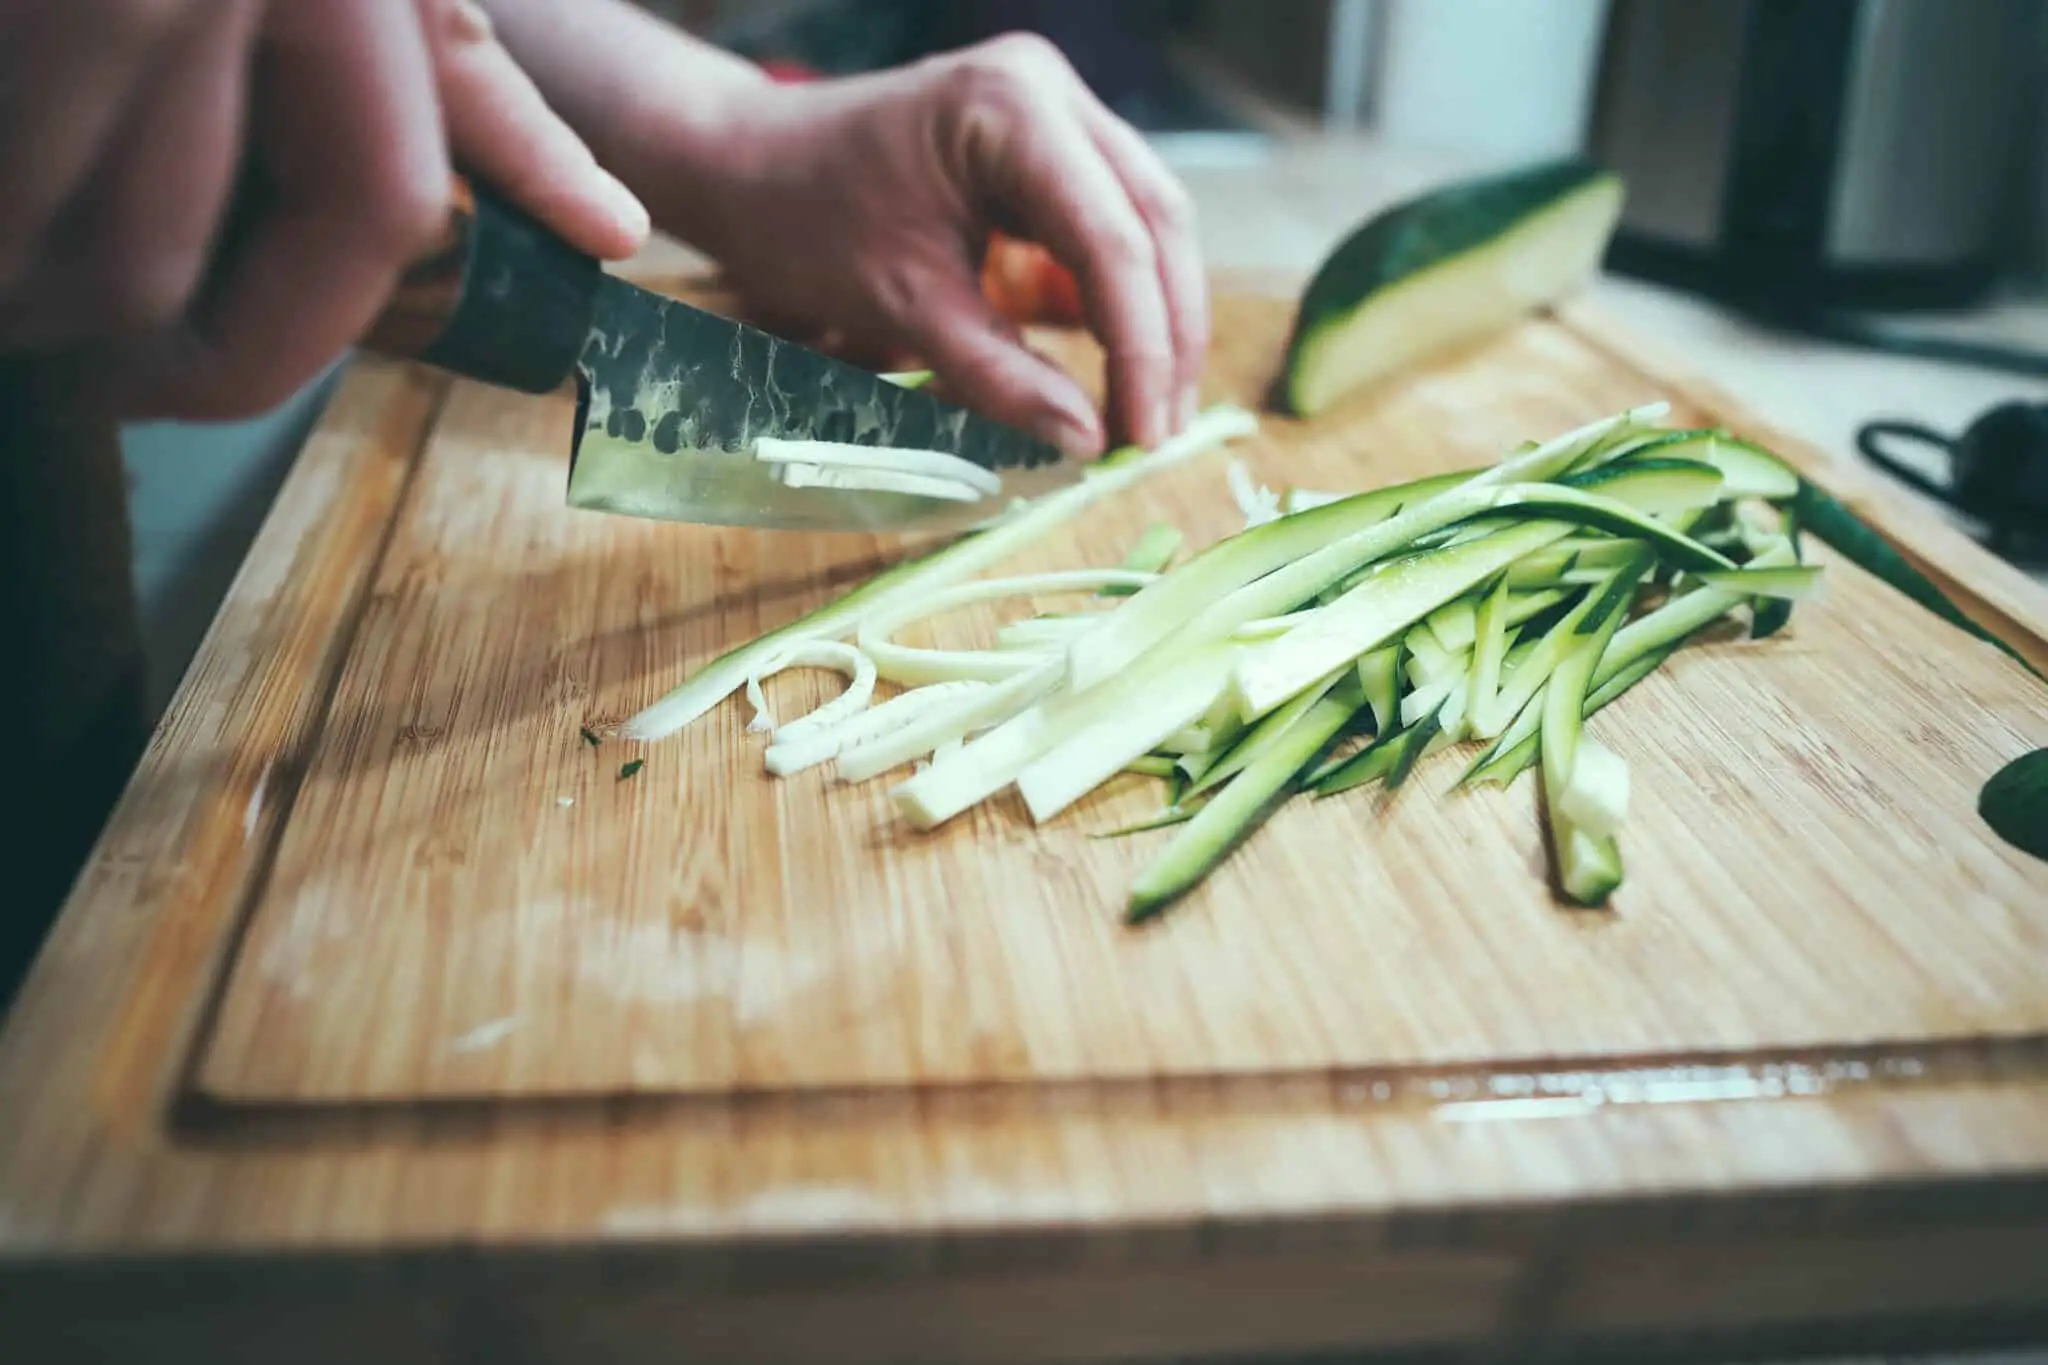
Overview of the Julienne Cut
Not to be confused with a batonnet cut, a julienne cut, or a fine julienne cut, is a long and narrow slice where each side is typically a uniform length and thickness (2 to 3 inches long and 1/8th to 1/16th inches thick respectively). This workhorse cut is used in a variety of dishes and you may even be using it without realising.
Its widespread use stems from two factors; the first being the consistency and surface area of the produced cut – pieces this small and uniform are able to not only cook quickly but at the same rate. And secondly, a julienne cut produces slices that are able to be eaten raw without the harsh bite that is typically associated with the ingredient. Carrots cut in this way are a very popular textural element to a large amount of upper-class dining.
Julienne Cut Method
- Peel the vegetable (if necessary)
- Thin and Square off the vegetable producing a regular shape and size
- Begin slicing off regularly sized slabs along the length of the vegetable
- Once finished, stack the cut slabs taking care to align the edges
- Make clean, parallel cuts of the same thickness to produce a julienne cut
Alternatively…
- Prepare vegetable for eating
- Place on a flat side (or create one)
- Begin slicing from one end of the food to the other with tiny lateral movements to produce the slices required
- Once you reach the end, rotate the ingredient to its cut face and continue cutting safely to minimise waste
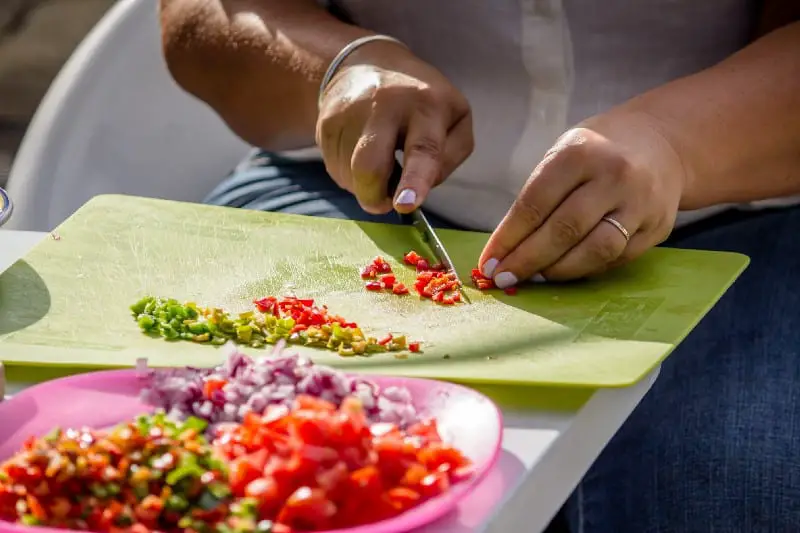
Julienne Cut Applications
A julienne cut is a perfect technique to master, it is supremely versatile and can be used in almost any recipe to great success, however, there are some uses where it truly shines – these are the best ways to utilise your new chopping skills.
Marinating
Whilst the thickness of ingredients make it a poor choice for cutting meats and fish, vegetables on the other hand benefit greatly from this form factor. When using a marinade to flavour your vegetables, it can often be difficult to achieve proper penetration into the core of the ingredient, however once juliened, you can guarantee that every single piece of carrot will be fully infused with your hard-earned flavours.
The reverse can also be the same, in the rare occasion that you use a vegetable within a meat marinade, julienne cutting them will ensure that the majority of the flavours and aroma are transferred to the meat and fats.
Cooking Speed
Thin slices of food always cook faster than large slabs – it’s all about science. The more contact your food is making with the pan, the greater the level of thermal transfer and therefore the speed of cooking. By cutting your ingredients into dozens (or hundreds if you’re especially skilled) of pieces you are able to multiply your contact points tremendously.
Not only this, but the increased contact from a julienne cut will ensure that you develop consistent browning across each piece of your food, instead of just spots on the skins where it sat in the pan.
Knife Recommendations for Julienne Cuts
A strong vegetable knife is essential to clean and crisp julienne cuts. Just like a brunoise cut (see here), it is important that all of the individual slices be the same thickness and length to promote even cooking times. Here are the top three knives I would recommend for mastering your vegetable cuts
Santoku
Named after its three virtues, slicing, dicing and mincing – the Santoku knife is an excellent knife for achieving the julienne cut, the steep bevel on either side of the blade ensure that you get the clean and crisps cuts that are essential to uniform slices.
Nakiri
A knife that is recently gaining a lot of popularity, the Nakiri knife was created centuries ago to be the perfect all-around vegetable knife, and therefore no list would be complete without giving it a mention. The rectangular shape of the blade ensures that you are able to produce clean and repeatable cuts along the length of your ingredients.
Chinese Cleaver
One of the primary ingredients in a significant amount of Chinese sauces are ‘matchstick’ or julienne cut vegetables. Ginger, chilli and peppers are just a few examples of the places that Chinese cuisine use it, and there is no better tool than the famously rectangular Chinese cleaver. Its weight and heft ensure that you can glide through any vegetables you need to as well as keeping clean and crisp lines due to the flat shape of the blade.
Related posts:
 Brunoise Cut | How To Do It and Where To Use It
 How To Dice a Tomato | Why Is It So Difficult?
 How To Mince Ginger | Getting This Stubborn Root To Behave
 The Transformative Power of MSG for the Best Home Cooks
 7 Secret Ingredients That Will Revolutionize Your Favourite Foods
 Learn How To Plate Food Better and Revolutionise Your Cooking
 What Is a Shallot, Surely It’s Just Another Onion?
 Demi Glace | A Cheat’s Guide Made with Store Bought Stock
